From the first day we looked at our new house, the only thing I really didn't like about it was the tile in our entryway and around the fireplace. I thought, hey I can paint it! I paint everything... That's what I told my husband to convince him to let me do it, anyway! But, in the back of my mind I was a little worried that I was going to destroy the tile and not have the money to replace it. But, that is what paint thinner is for and it takes great risk to reap great rewards! So I forged on! :)
In the end, it was a pretty cheap and quick fix for our ugly fireplace surround so this is one happy girl! :)
In the end, it was a pretty cheap and quick fix for our ugly fireplace surround so this is one happy girl! :)
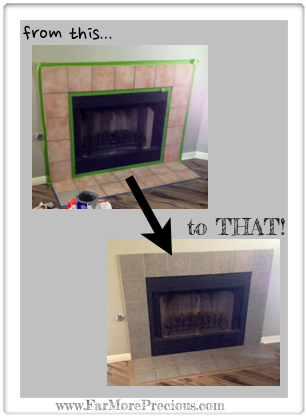
So, we started out with this super ugly peachy-pinkish tile that did not match any of the colors in our house. For a couple of months, I just kept staring at it, and thinking how cute my living room would be if only for this ugly fireplace. :/ Sigh.
Of course, I hopped on Pinterest to find some great examples of what to do! There were a few, but not many. So, I decided to wing it a little.
Here's what I did...
First, I gathered a few different colors of paints: Dark grey, light grey, off white, and black. All of these colors have been used in our house in various places, so I already had them.
I cleaned the tile really well with Dawn dish soap water and a scrubby pad. I grabbed some sandpaper and did a little bit of sanding. Not too much because our tile already had a somewhat rough texture. Then, of course, I wiped it down again with a wet rag.
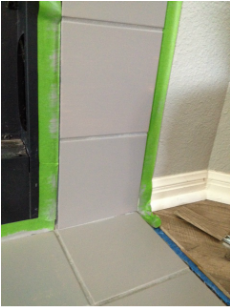
Then, I got to the painting! I wanted the tiles to mostly be a dark grey color so that it stuck out a little from our light grey walls but would still blend nicely. So, I painted two base coats of solid dark grey and let it dry.
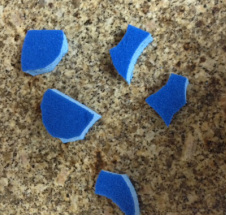
In order to get the little wisps of color like real tile has, I decided to use the soft side of a scrubby pad. I cut one up into several pieces so that I could work with little sections at a time and have one for each color.
I first did the white, dipping the pad into the paint and then blotting it out onto a piece of plastic until it would just put a thin amount on to the tile.
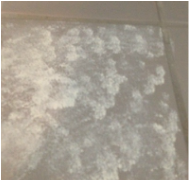
I worked on each tile separately, and was sure to not follow any kind of pattern. Some tiles got a lot of white and others got just a little bit. This way, they look more like real tiles!
First I put on the white and let it dry. Then, the black. Then, the light grey.
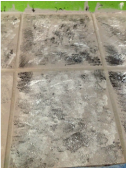
So, at this point, I got really nervous because well, look at that! I was hopeful and pretty sure that once it was done, it would look great! But, I was afraid that Chris was going to come home before that point and freak out a little. A lot of times he just doesn't see my vision until it is complete. A lot of times, I don't really see my vision until it's complete. haha I knew if it looked like that when he came home, he may not let me finish! :)
So, I worked quickly to get it done!
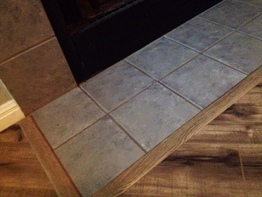
I used the same "blotting" technique to put a final coat of the same dark grey "base color" on the top. This is what really made it look nice and all pulled together!
So, I worked quickly to get it done!
I used the same "blotting" technique to put a final coat of the same dark grey "base color" on the top. This is what really made it look nice and all pulled together!
I let it dry for a solid week before applying poly to seal it in!
Before I got this part done, the kids scratched the paint right off one of the tiles. So, I fixed it and only waited 24 hours from that point to apply the poly to the whole thing. That one tile peeled right up where I had painted the day before. I didn't have any problems at all with the other tiles! So, I would recommend at least 72 hours before applying poly and just try to keep the kids away! :) Once the poly seals it in, though, it should hold up nicely!
I haven't had any more problems with scratches since I sealed it in, but I would like to apply 3 good coats of poly just to be sure. ;)
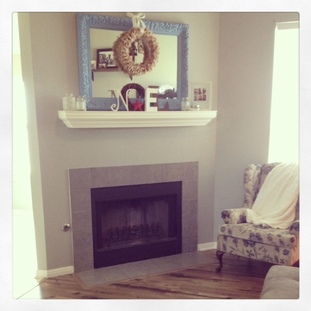
And now, we have a nice little fireplace that fits in perfectly! Until we can get to our "someday" plans for it... :)
Here it is!
What do y'all think?! What other fireplace solutions have you found??




 RSS Feed
