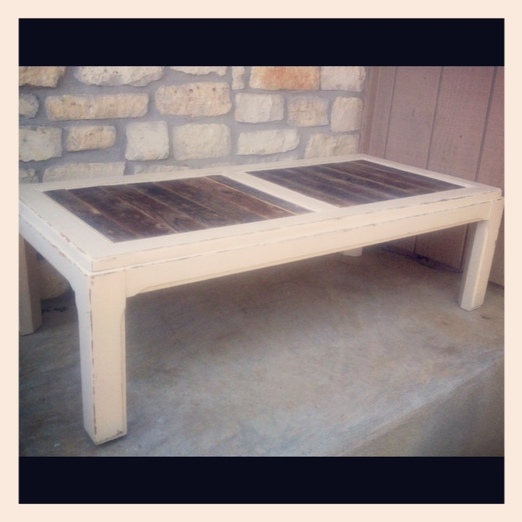
Isn’t she a beaut?! :) Lemme tell you about her...
Well, a few weeks ago, my husband and I went out to pick up some garage cabinets that he had acquired from a friend whose parents had sold their house and were cleaning out their barn. When we went to pick them up, our friend told us that we could have whatever we wanted, everything in the barn was free game!!! They had a ton of old fence wood (Which I took some of, bc of my love for old, ugly wood as y’all know!) and they had some other cool pieces of wood that I’ve got plans for...
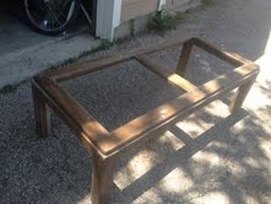
And then, I saw this... and I thought, peeerfect!
And then, I saw this... and I thought, peeerfect!
It looks like just an old, outdated glasstop coffee table, right? Wrong!!! To me, it was a treasure just waiting to be reloved!
First, I painted it with a couple of coats of off-white. Then, the real work began.
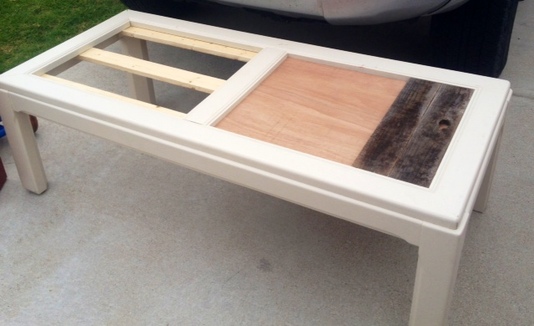
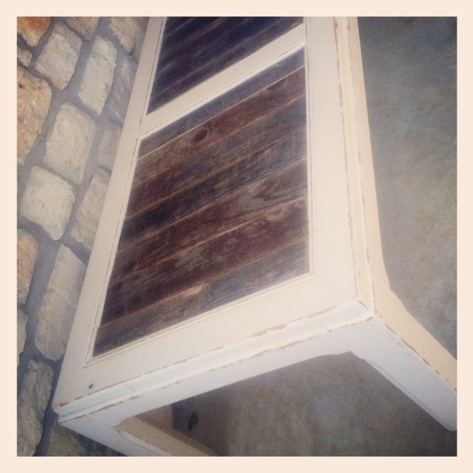
We started out by screwing in 3 1”x3” pieces of wood to securely hold our repurposed wood-slat top. Then, we measured our slats and figured out that we needed to add a 1/4” piece of plywood so that our slats would sit level with the rest of the table. You can see how they are layered in the picture below.
After that, we picked out pieces of wood that we liked and cut out our slats and fit them into the table. In order for them all to fit, we had to cut the outside and inside slats for each section of the table. To do this, I put in all of the slats except 2, and measured how much of a gap this left. Then, I divided that by 2 to figure out how big each slat needed to be. Then, we cut! (Follow the age-old rule here... Measure twice, cut once!!!)
Our slats fit very tightly into place. So, we were able to flip the board on its side, and I held the slats into their spots while my husband screwed them in from the bottom. It is very helpful here to drill pilot holes, and then put in your screws.
After it was all put together, I distressed it with sandpaper and wiped it down. Then, I sealed it with some Polyacrylic.
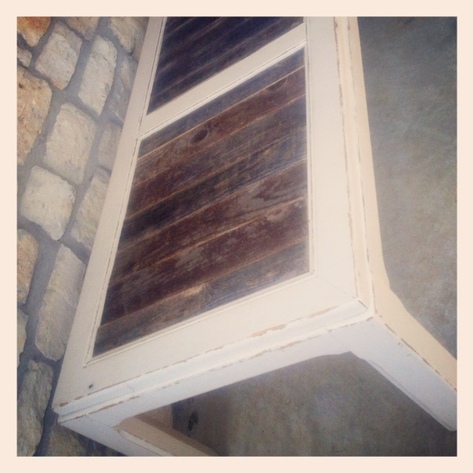
And there you have it... Our beautiful, vintage refinished coffee table!
Let me know what you think! What would you like to see me do next?!





 RSS Feed
